Add Programs to Existing Sessions
1. After creating a session, you can continue to add or remove programs by clicking the [Add to Session] option from the client's Home Page.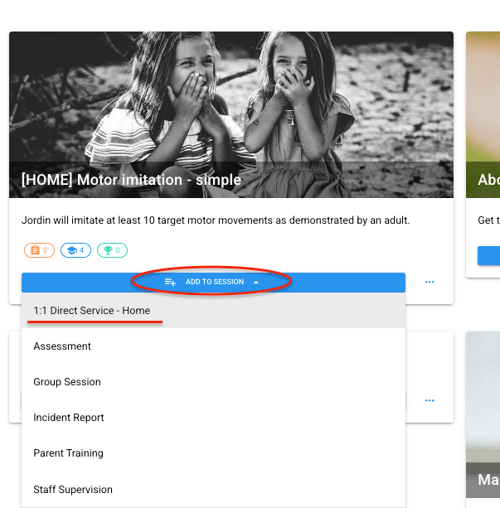
2. Select the existing session that you'd like to add the program to.
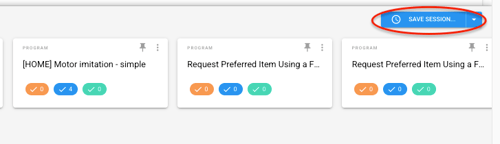
3. Once selected, the session summary will poplate along the bottom of the screen. From here, you can pin or rearrange the programs as needed. Once finished, click [Save Session].

Remove Programs from Sessions
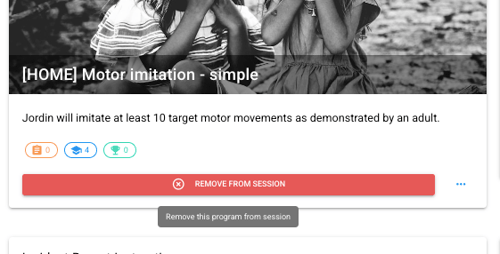
1. To remove programs from a session, click the 3 dots at the top right of the session and select [Edit Session].

2. Select the red [Remove From Session] option.
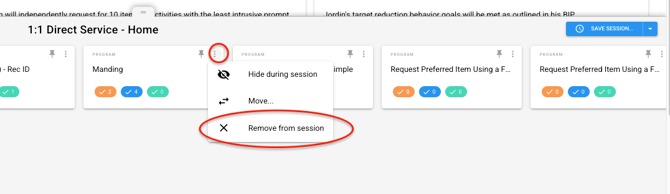
3. Alternatively, click the 3 dots next to the program in the session editor along the bottom of the page and select [Remove from session].
4. Select [Save Session] and then [Save] in the session settings popup.
Modify Session Settings
1. To modify the session settings including the assigned note(s), visibility, and message to therapist click the 3 dots to at the top right of the session you wish to edit.
2. Click [Edit Session]
3. Click the blue [Save Session] icon at the bottom right.
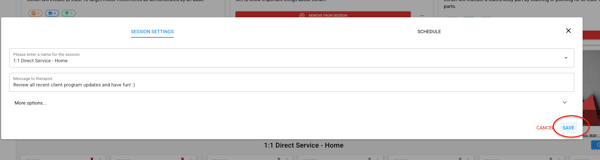
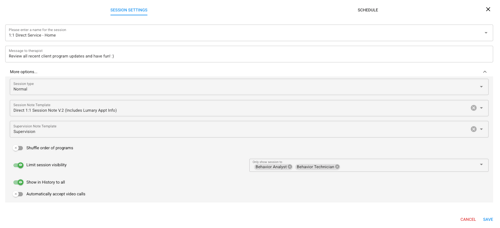
4. The Session Settings will pop up.
5. Make any necessary changes and click [Save].
6. Your changes will be applied to the session.
Adding Programs to a Session from the Programs Page
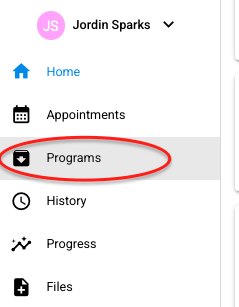
1. Navigate to the [Programs] section for your client.
2. Select the programs you'd like to add the the session by checking the box next to each program.
3. Choose the [Add to Session] option at the bottom of the page.
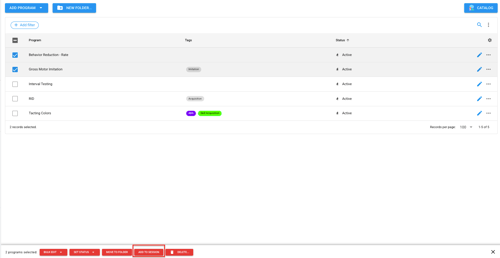
4. Select the session you'd like to add the programs to and click [Apply].

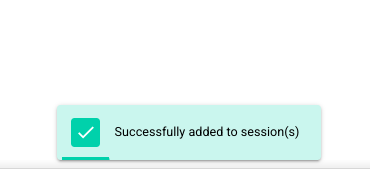
5. The selected programs are now included in the selected session. You will get a confirmation at the bottom of the screen.
NOTE: Programs can only be added to existing sessions from the Programs page. To create a new session, go to the client's Home page. For more information, CLICK HERE.