Creating a Report Template
- To set up a template for your organization visit [Settings] >> [Templates] >> [Reports].
- Select [Add report template] and give your template a name.
- To build content within your template, select [Add Section]. Here, you can choose what type of content you would like to add - select from the below options for more details on how to set up each section type:

⬇️ Keep reading to learn more about the different section types within a report template!
Page Headers and Footers
To add a page header and footer select [Layout] and toggle on either Page Header or Page Footer

You can include dynamic fields within the page header or footer such as [Current Page] and [Page Count]

NOTE: when adding an image such as a logo to a report template use the "insert image" icon. Do not copy and paste images into the template.
Heading Section
To add a heading, type your heading text, then select the heading style you desire. The heading style will dictate how large the font is on the heading.

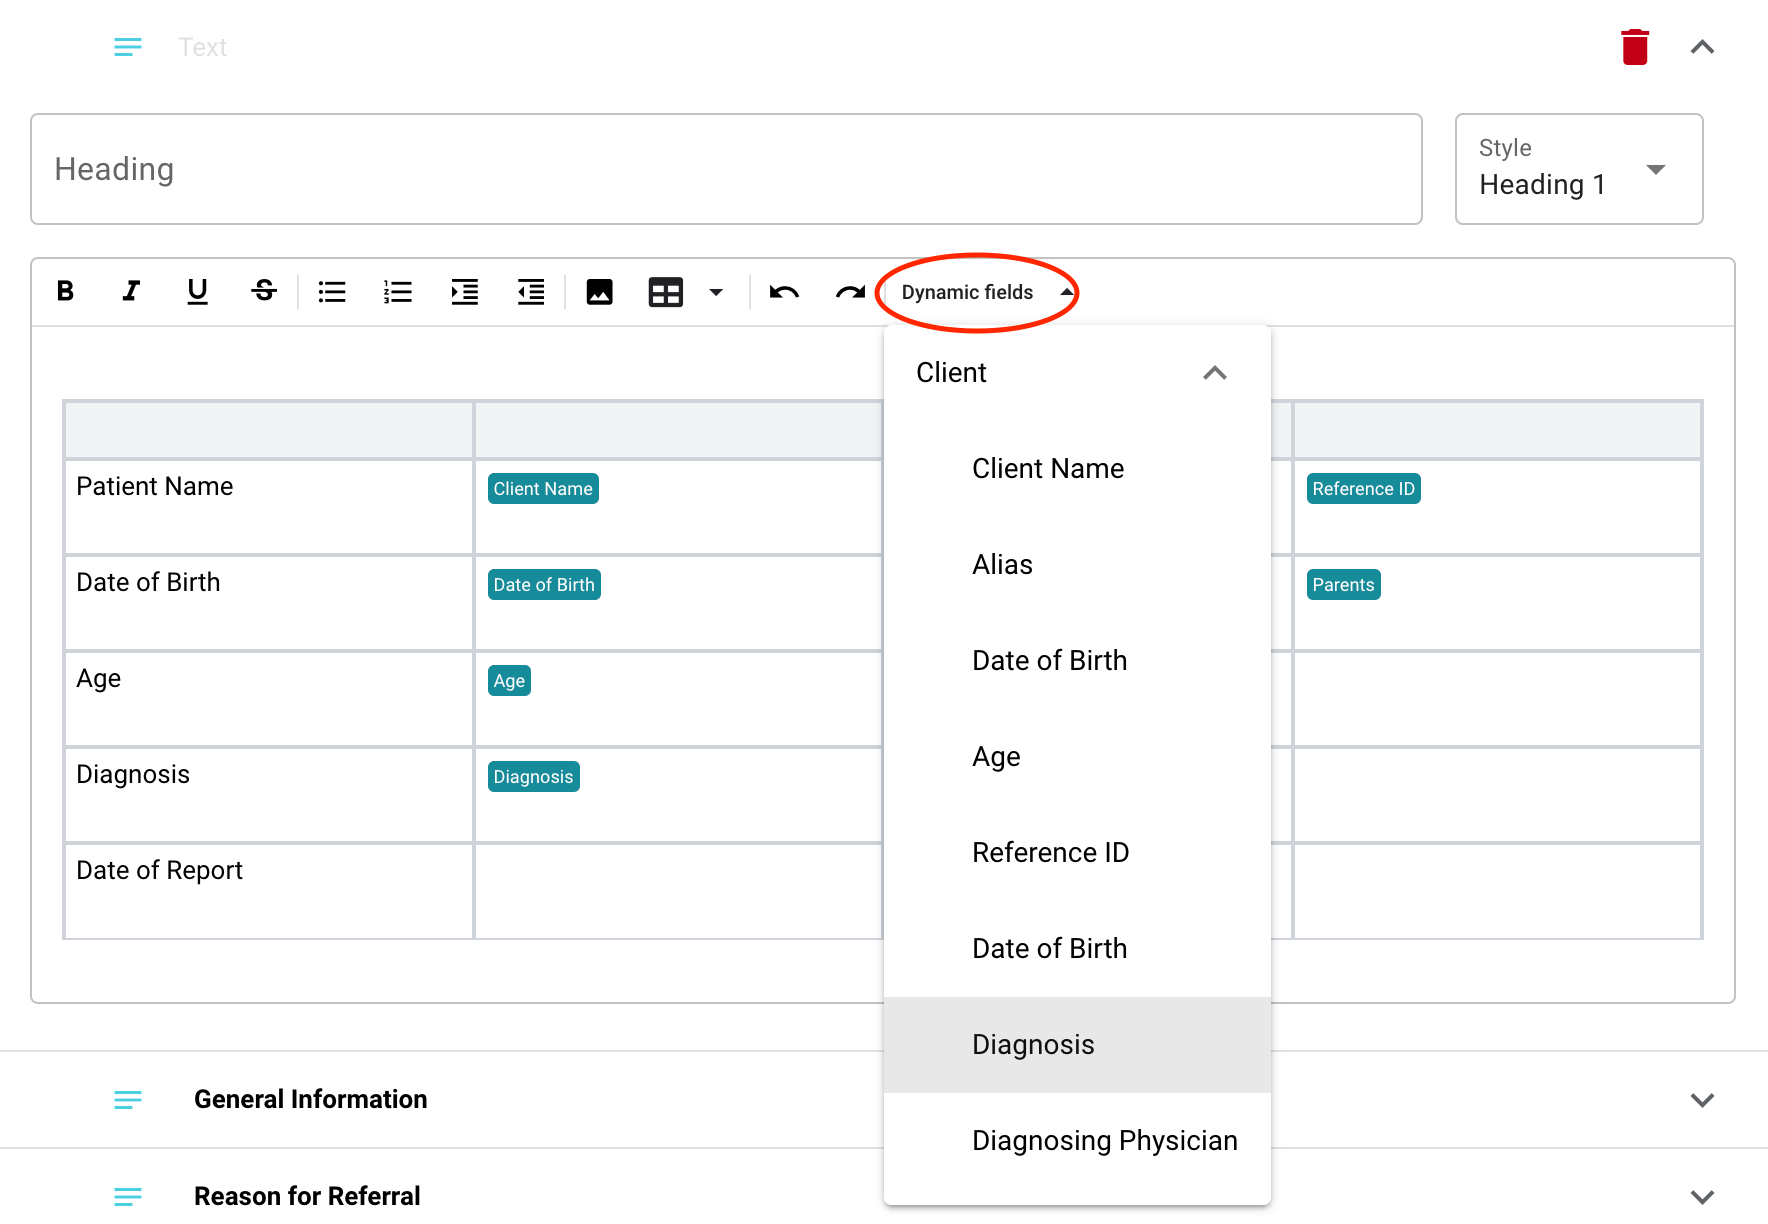
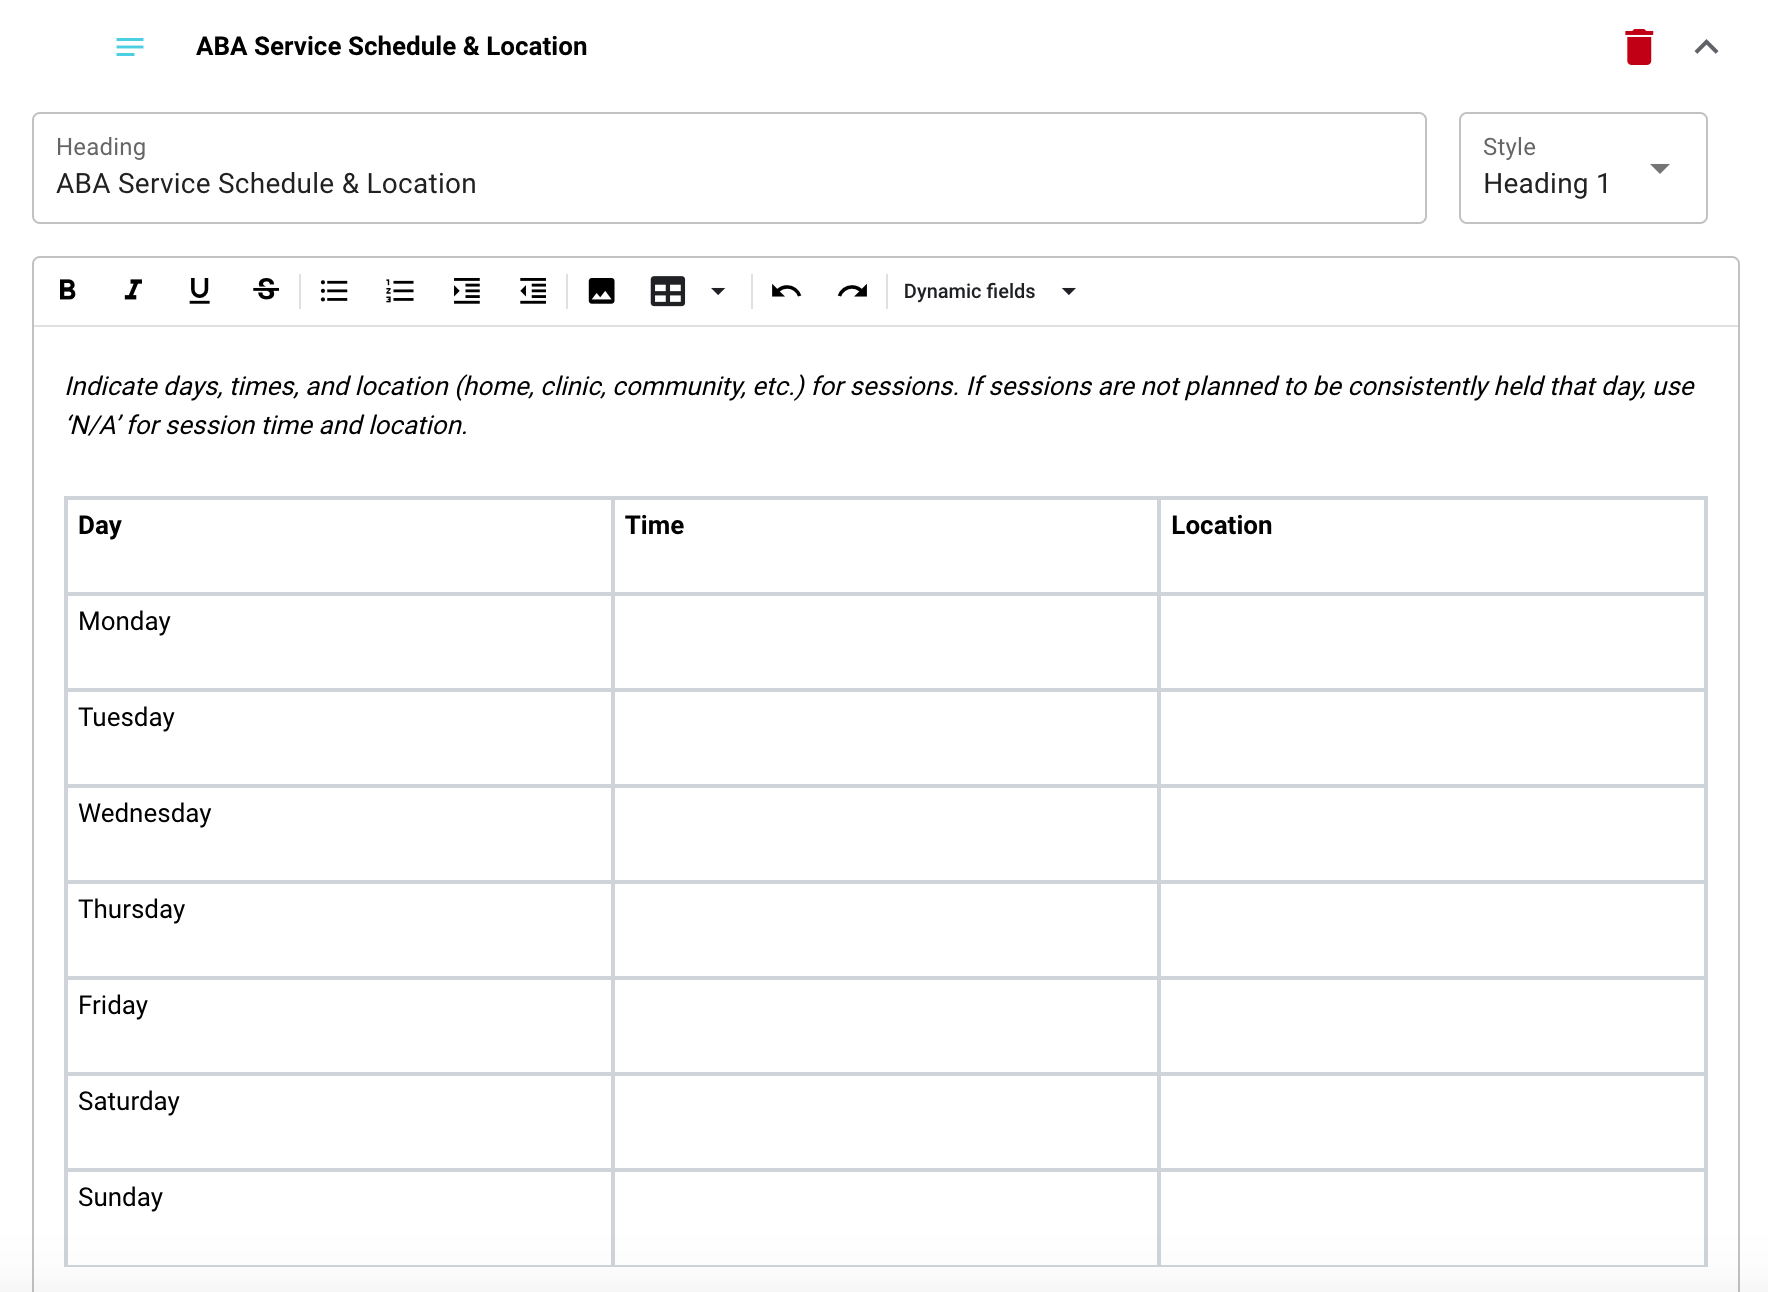
Text Section
You can use a text box section to add narratives, insert pictures or assessment results, or tables.
Here, you can also add dynamic fields that pull information from the custom client information fields on a learners profile.
Learn more about creating custom Client Information fields HERE
Treatment Progress Section
Treatment Progress sections allow you to pull program information, program graphs, target information (in table form) and target graphs into your treatment plan.
ℹ️ Use tag, status and program data field filters to only pull specific programs into each Treatment Progress section.
💡 If you do not have any filters set up within your treatment progress sections, all of the client's programs will pull into the section.
💡 Programs will be listed in alpha-numeric order.
💡If programs are assigned to a treatment area they will be listed by order within each treatment area. Treatment area order will be based on the order of the treatment areas in [Settings] >> [Programs] >> [Treatment Areas]
- Start by adding a section [Heading]
- If you'd like to display the names of the treatment areas for each program, select [Show sub-headings to outline treatment areas]
Learn how to set up Treatment Areas HERE
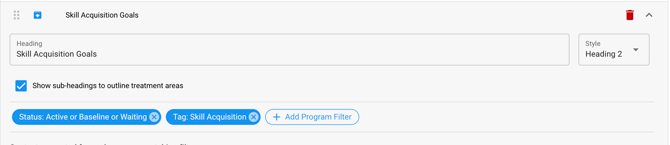
- Program filters will allow you to specify the type of program you would like to pull into this section of the report.
- Select [Add Program Filter] to filter programs by: tag, status or a custom program data field.
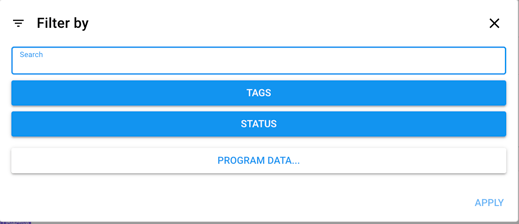
-
- When setting up filters in this section, if you choose to include multiple tags in one filter, this will pull in programs that have either of the tags specified, not both of the tags.
- If you want to include programs that must have both (all) tags, set up two or more separate tag filters.
- In the example below, the section will include any Active programs that are NOT tagged with Bx and About Me tags, but are tagged with EITHER Skill Acquisition OR Social Awareness tags AND the Behavior Reduction tag,

⚠️ NOTE: If you change the name of your tags in your tag library, be sure to go into your report template and ensure the new name of the tags is reflected or your program progress section will not pull programs in accurately.
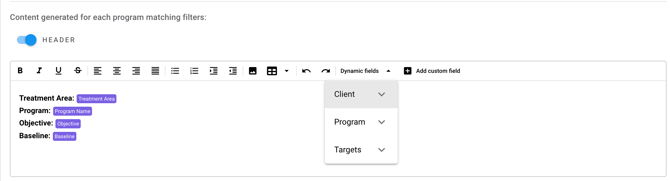
- To include information about each program, toggle on the [Header] or [Footer]
- You can set the [Header] and/or [Footer] up with any text you wish to include and can pull in any custom client information fields or any custom program data fields.
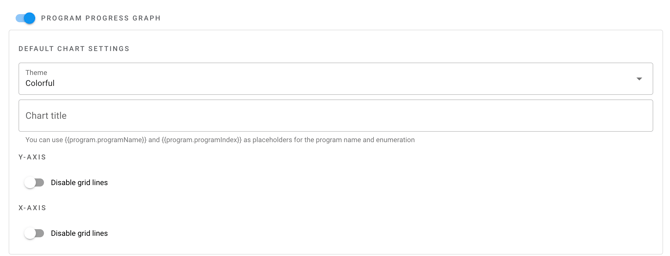
- To display each program's progress graph, toggle on [Program Progress Graph].
- You can set the theme as either colorful or black and white, add a chart title (check out the hints below this field to display a custom title for each chart based on the program)
- You can also choose to disable X and Y Axis Grid Lines
💡When generated for each client, the progress graph will default to the program's default graph settings.
- Toggle on [Table With List of Targets] to view target information and access the setting to include target graphs.
- Toggle on [Target Progress Graph] to also include the progress graph for each target.
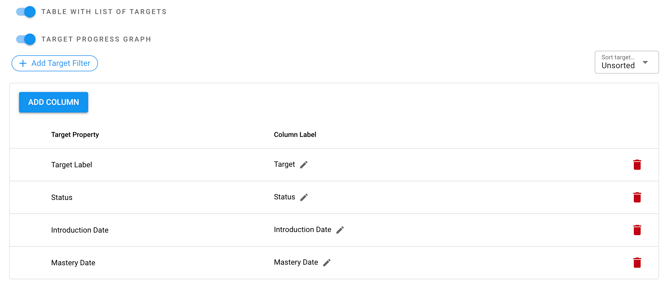
- You can select [Add Target Filter] to specify which targets you would like to show in the report. You can filter by the target's: Status, Introduction Date, Mastery Date and also choose to exclude sub-targets.

- Select the [Sort Target] dropdown to the right of the target filter to select how you would like your targets sorted within the report.

- Modify the target table by selecting [Add Column] to choose the target information that is displayed on the target table.

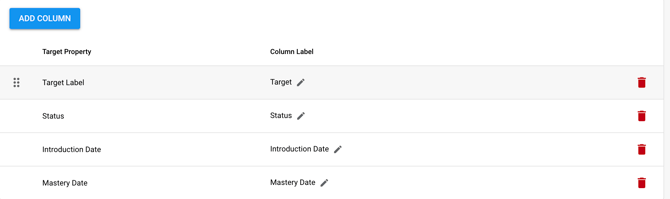
- Target Table column labels can be edited by selecting the pencil icon, reordered by hovering the left of the Target Property name or deleted by selecting the trash can icon
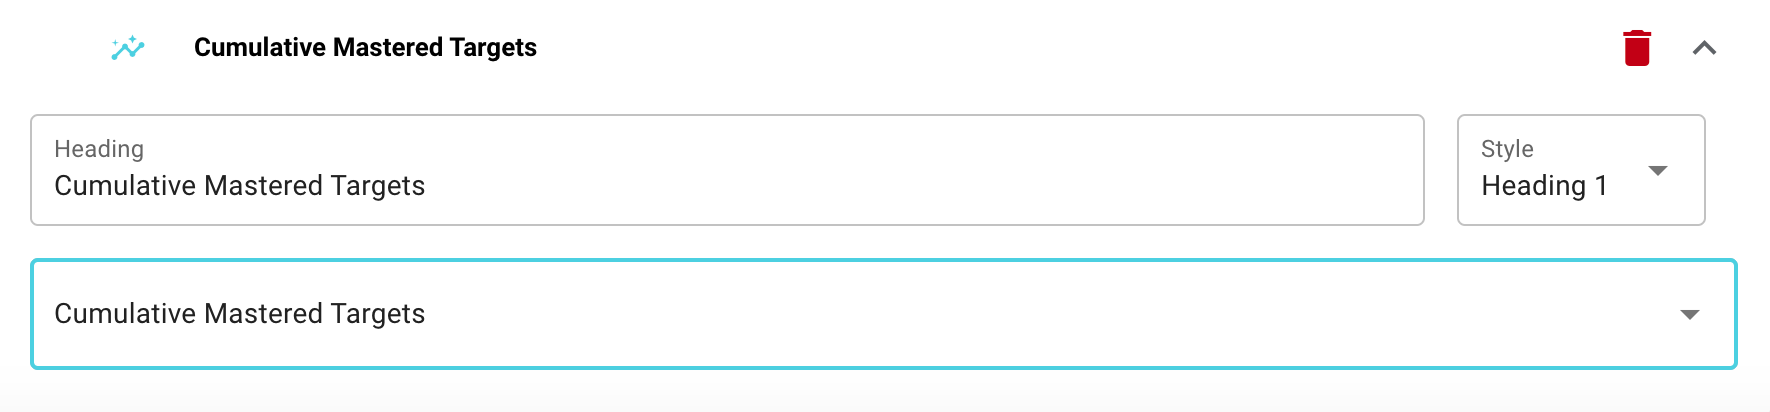
Custom Insights Chart
You can also pull custom insights charts that have been created across all clients. Simply add a header, if desired, and select the insights chart that you would like to pull in from the drop-down list.
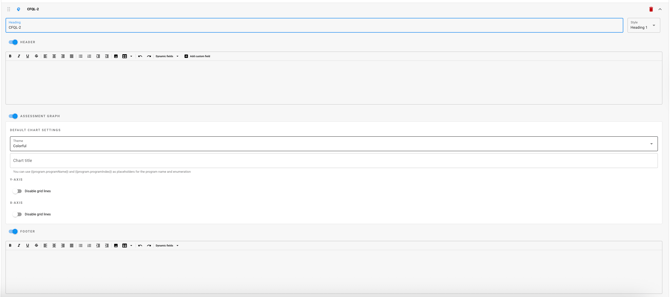
Assessments
Assessment manual entries are available to add to report templates. This is helpful for manager's to set up specifics for their BCBAs in order to decrease the time spent creating Progress Reports. See Assessments Knowledge Base article to learn more about the assessment entries we offer, HERE
- To include information about each program, toggle on the [Header] or [Footer]
- You can set the [Header] and/or [Footer] up with any text you wish to include and can pull in any custom client information fields or any custom program data fields.
NOTE: If you are using multiple assessments for your Report Template, you will need to add a section for each assessment (Example: VB-MAPP Section, FAST Section).
NOTE: if you are using the FAST template, when you create the report on the client level, the template will pull a graph, header and footer per each behavior.
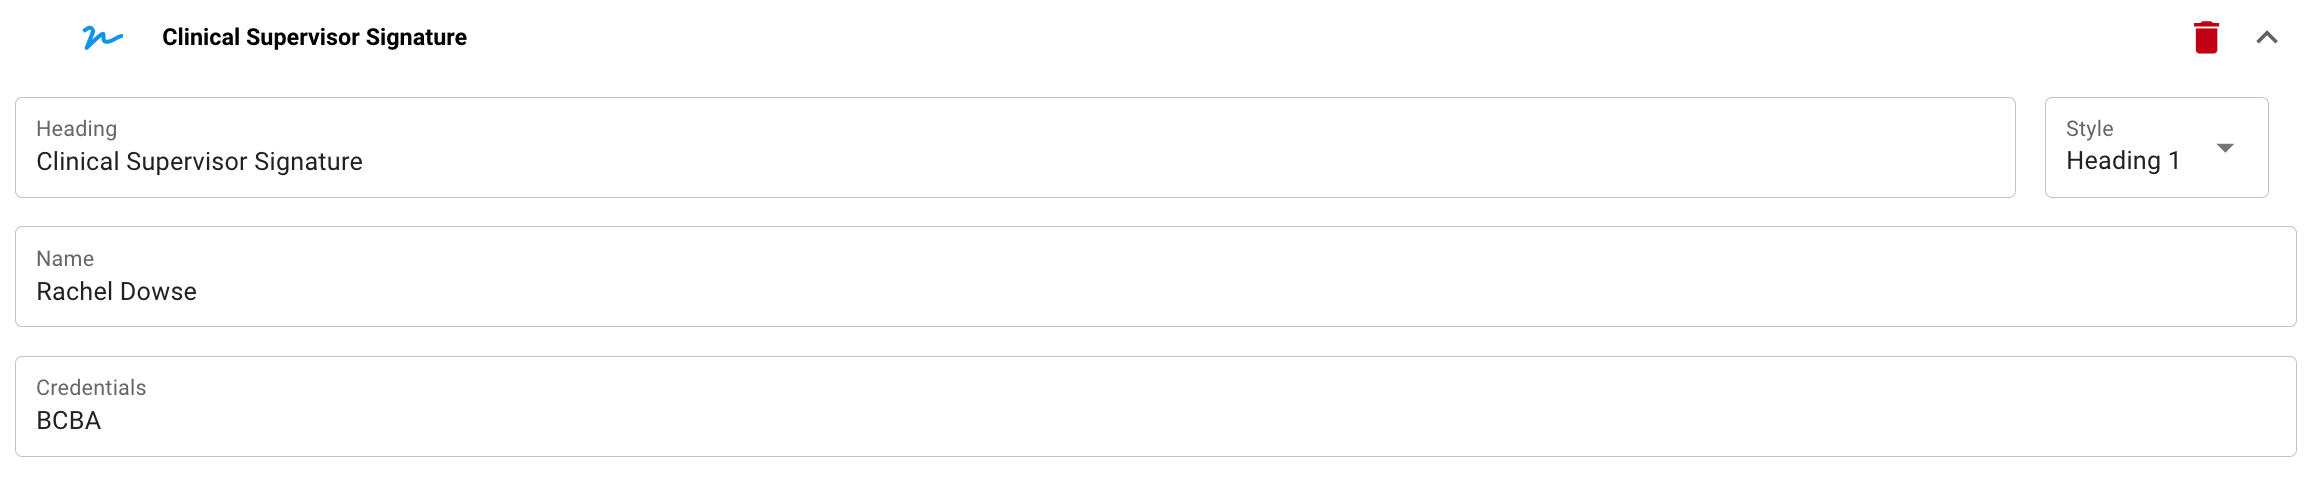
Signatures
Signature blocks are available to add to report templates to easily allow supervisors, parents and/or other users to sign a report before it’s exported.
- Select add section and select signature.
- Add a heading to the signature required in the report template (ex: clinical supervisor signature).
- Add in the name of the person's signature required. Optional to add in credentials (BCBA, BCaBA, etc.) for signature. Add in as many signatures sections as needed.
NOTE: Signatures within treatment plans cannot be sent as signature requests, they add a signature block that must be signed in person or by accessing the report by a user through the [Progress] tab.
Page Break
We understand that layout is important in creating a treatment plan that is easy to digest and share! You can keep your treatment plan neat and tidy by adding page breaks between sections of your choosing.
A few tips:
- To move sections to different positions within the template, click the 6 dots that appear to the left of the section title, then drag and drop to the desired placement.
- To delete an unwanted section, click the red trash can to the right of the section.
- Remember to click "Save" to lock your changes in!